Tutorial
Jump to Section
The Call Assistant tutorial contains step-by-step instructions on how to set up users and workgroups, all the way to creating a project.
Basic Setup
In order to use the Call Assistant, some basic setups must be present in the system. These include: * Users (accounts/users that use the Call-Assistant) * User groups * Project(e)
Create user
Users are a prerequisite for accessing and using the Call Assistant. The users created here will be used for later assignment to user groups (workgroups). Administrators are allowed to manage and create accounts for other users. With the following steps you can create a user in the system:
- Log in to the Sense.AI.tion control board with an administrator account
- Click the menu item “User” to enter the workspace
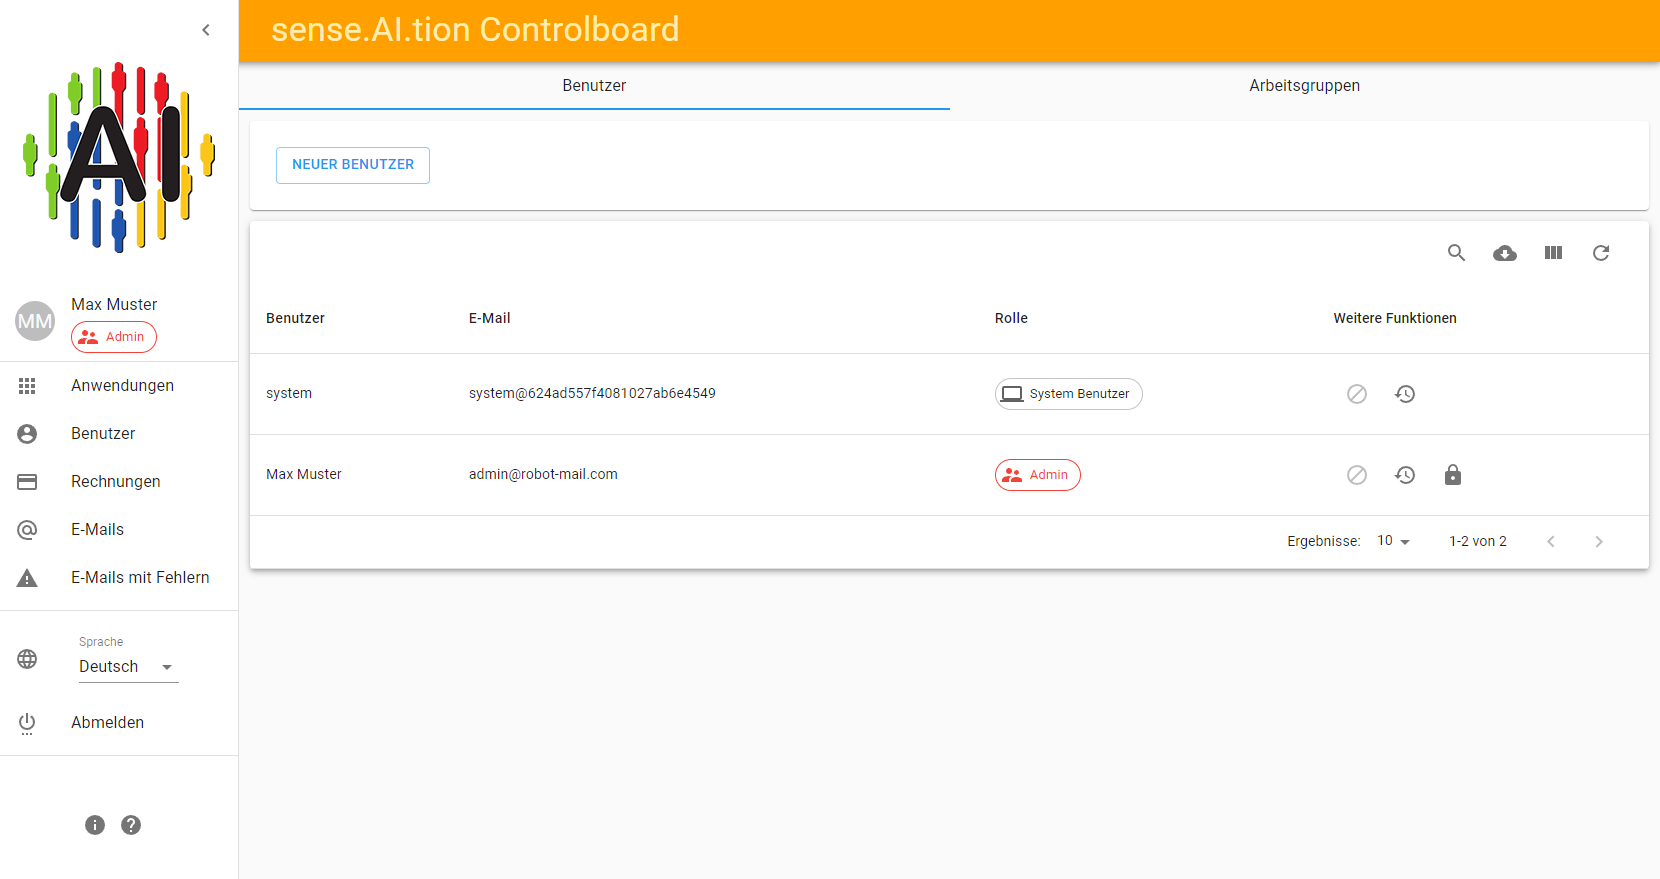 In the listing under the tab “Users” all users of your company set up in the sense.AI.tion system will appear. All users are displayed there with their name, an e-mail address and their role in the system.
 - Click on the button “NEW USER”
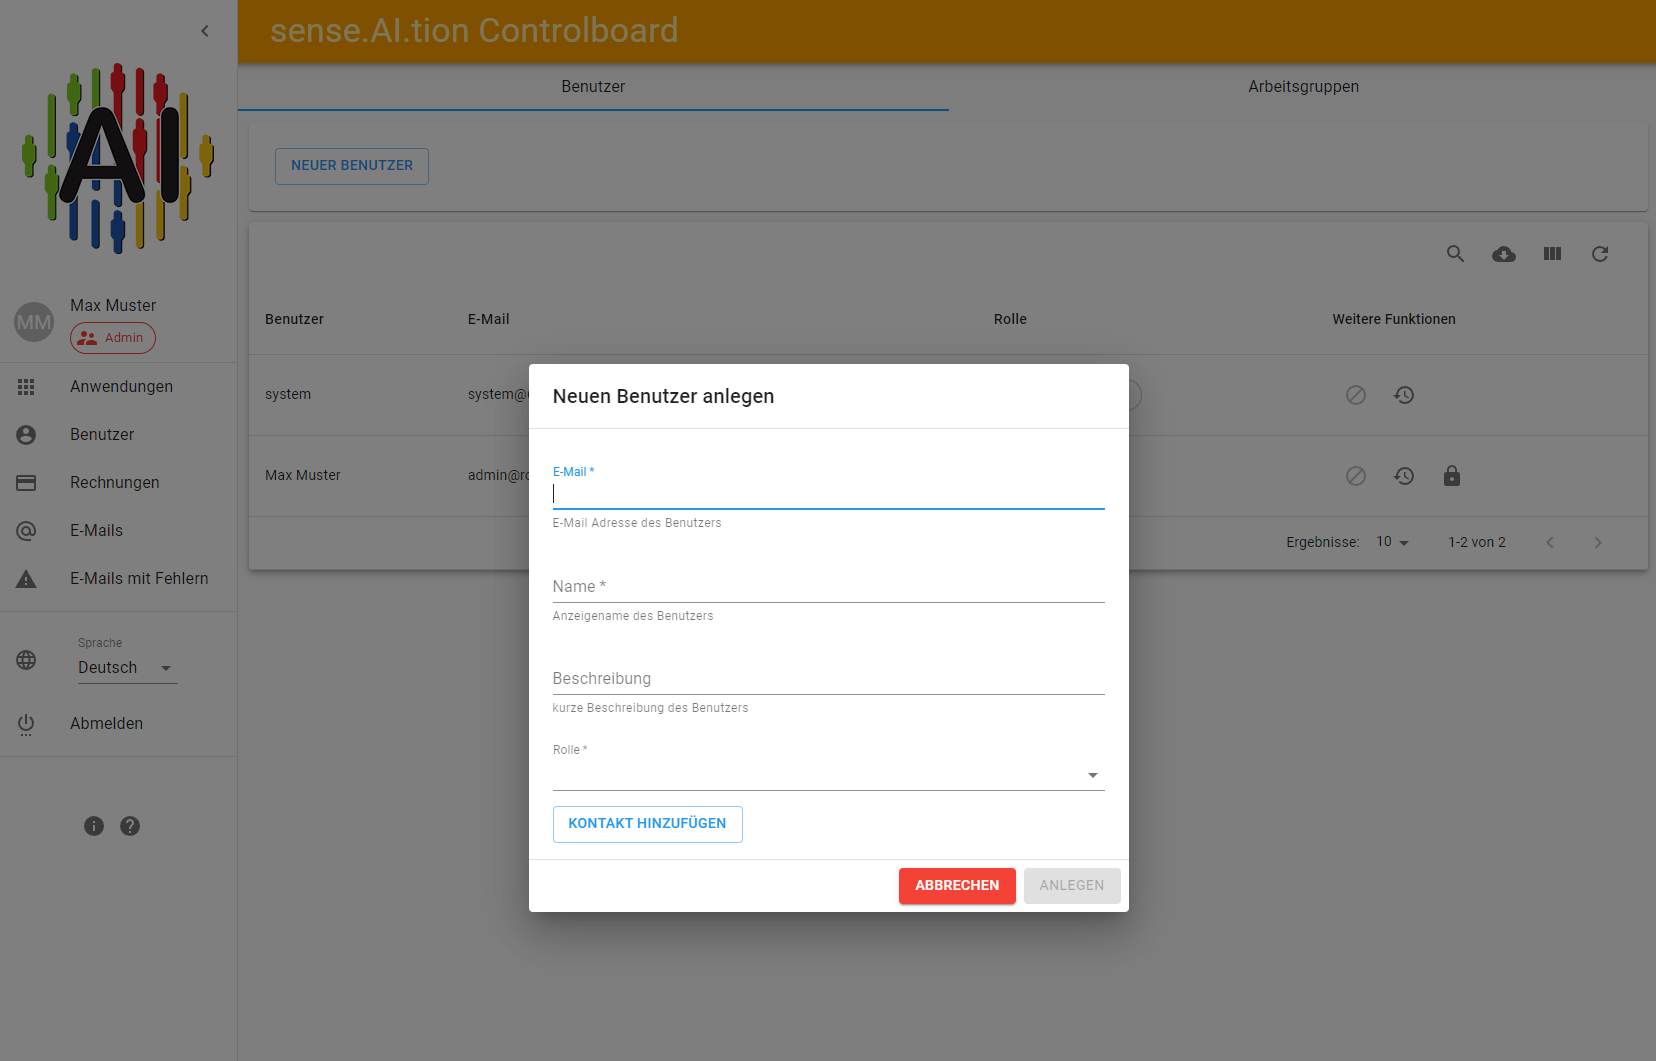
- Enter the e-mail address and the name of the user
- Select the role “User”
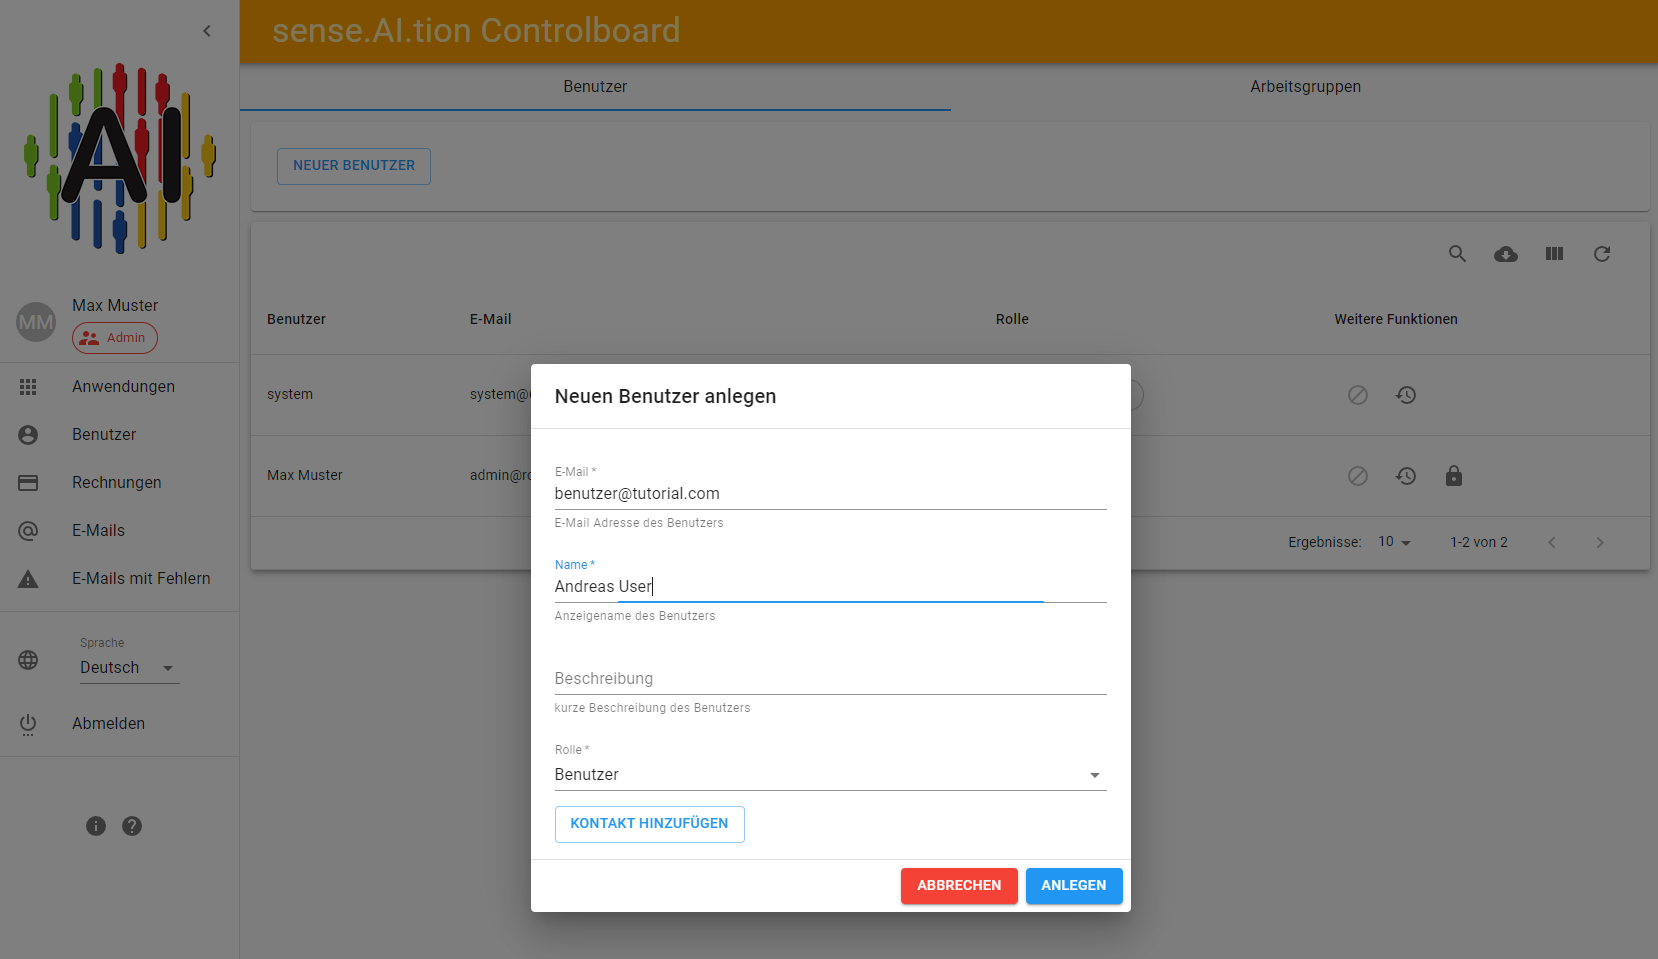
- Click on “CREATE” to save the new user (Repeat the creation of users for all users who want to use the Call-Assistant in your company)
For the further tutorial and the assignment to a workgroup 3 Relevant users (1 administrator, 2 users) are created in our system 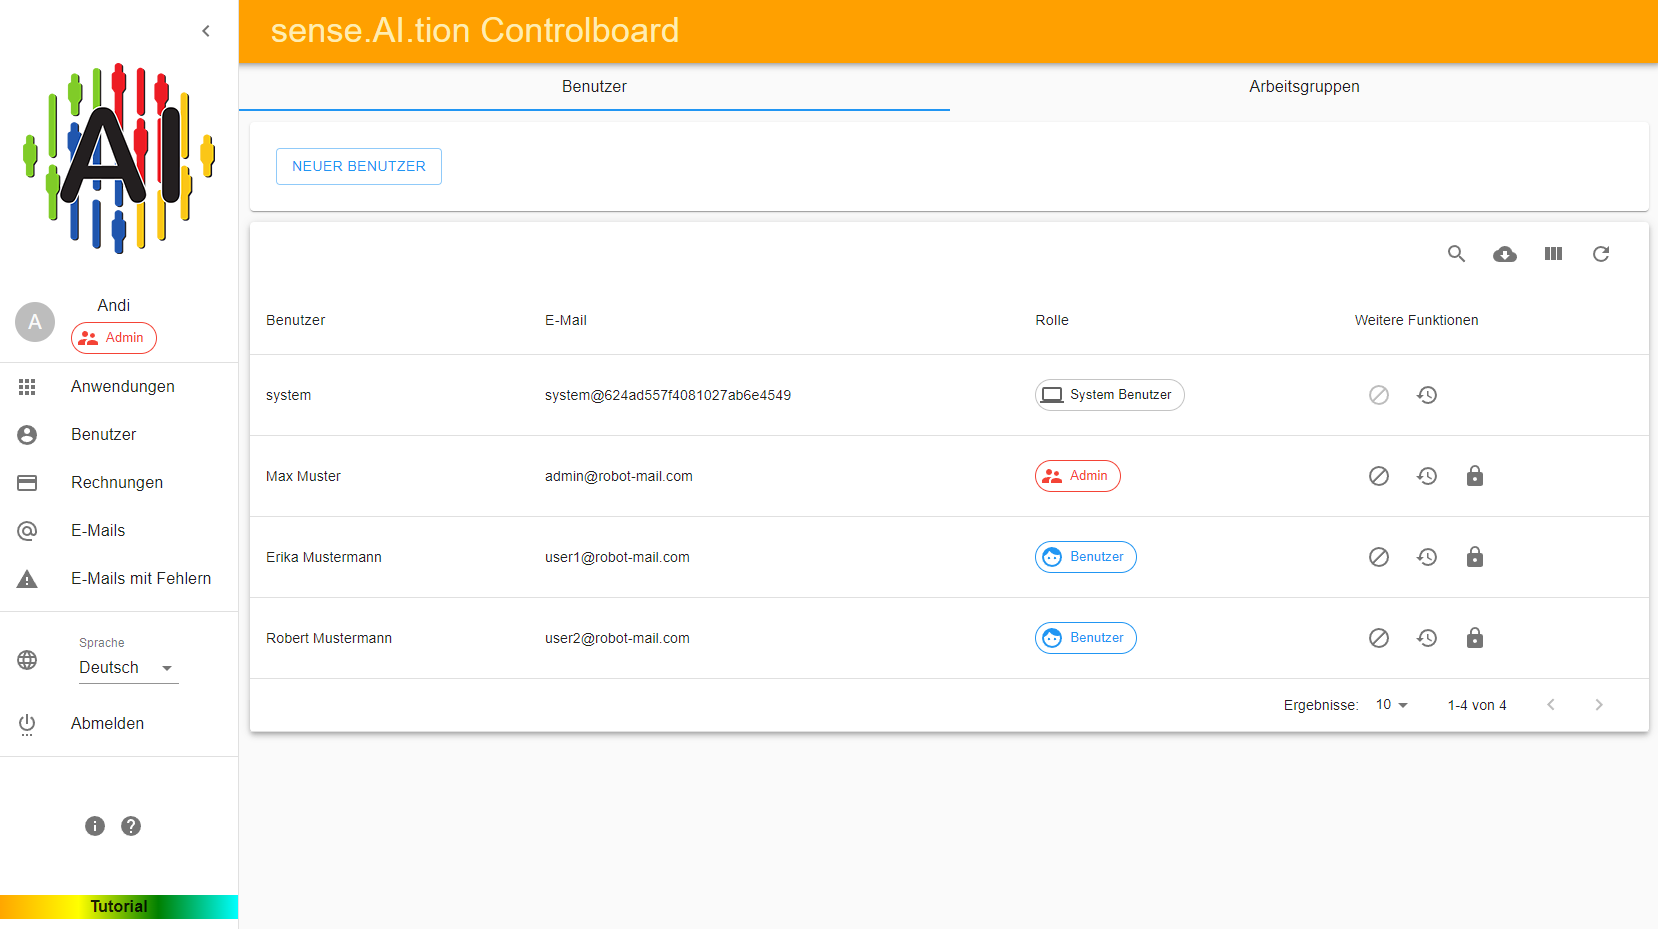
Define groups
In order to be able to create a project, it is absolutely necessary to define workgroups/user groups. The necessary users have been created in the previous steps. With the following steps you can define user groups (workgroups) in the system:
- Log in to the Sense.AI.tion control board with an administrator access
- Click on the “Users” menu item to enter the workspace
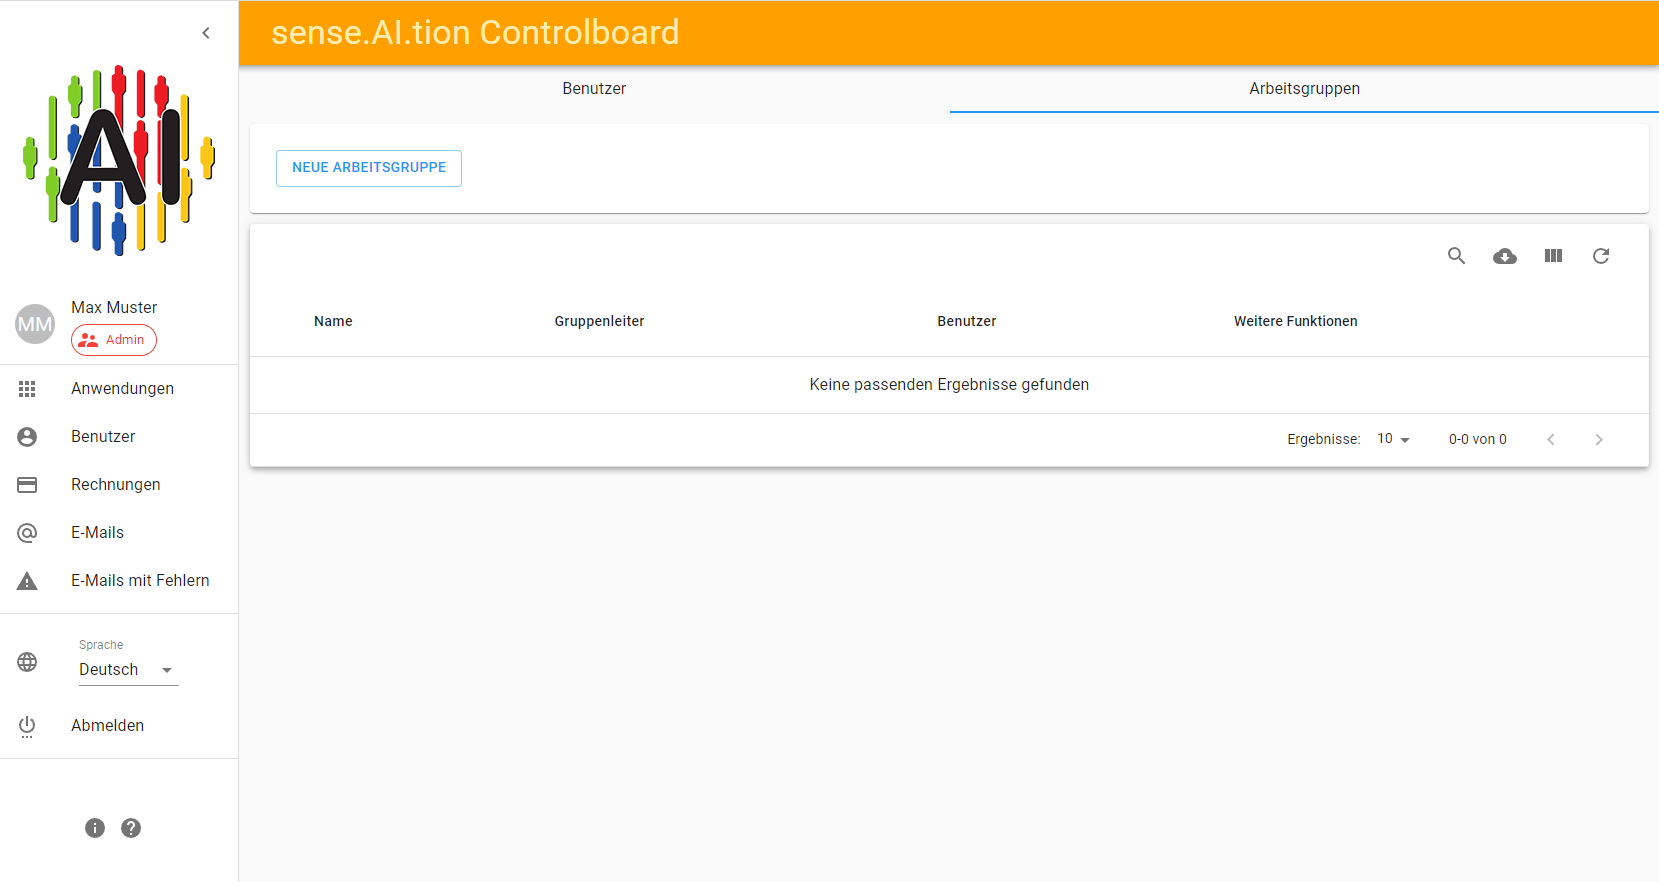
- Then select the “Workgroups” area in the tab
In our example, we create a workgroup where the administrator is also the group leader. The two users of the system are added as normal users in the group.
- Press the “NEW WORKGROUP” button

- In the selection for the group leader choose the administrator you have created before (In this case: Max Muster)
- Assign a name for the group (In this case: Group 1)

- Confirm the entries with the checkmark
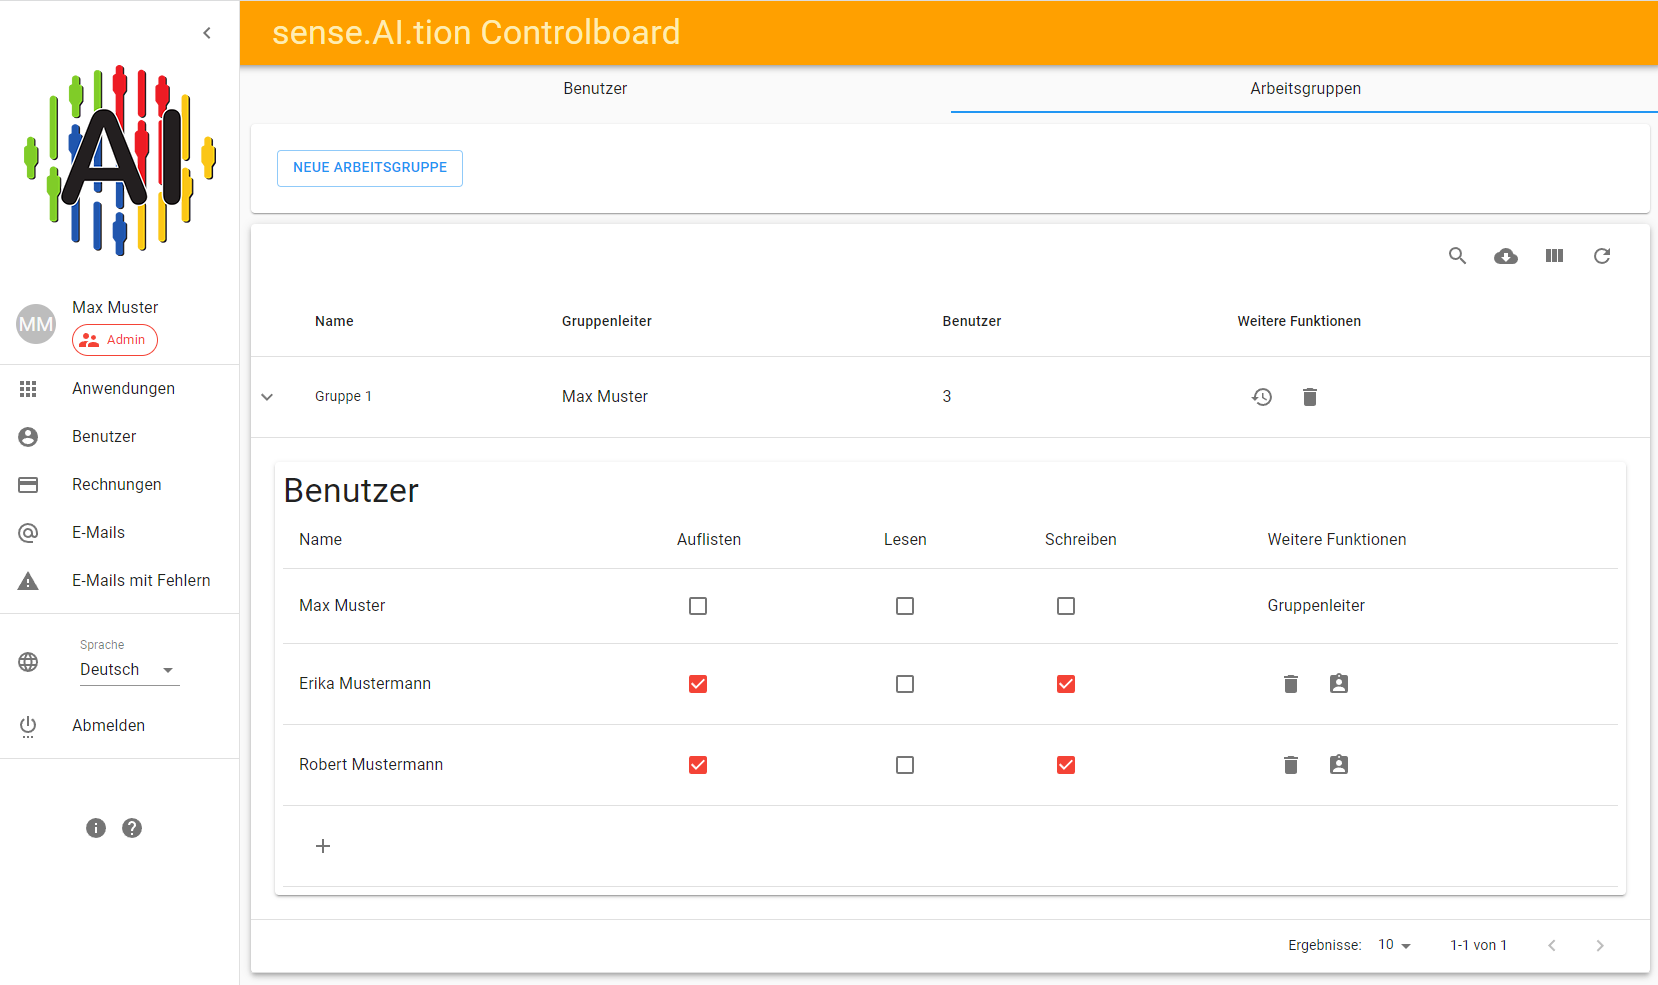
The group is now created. Additional group members can now be added. 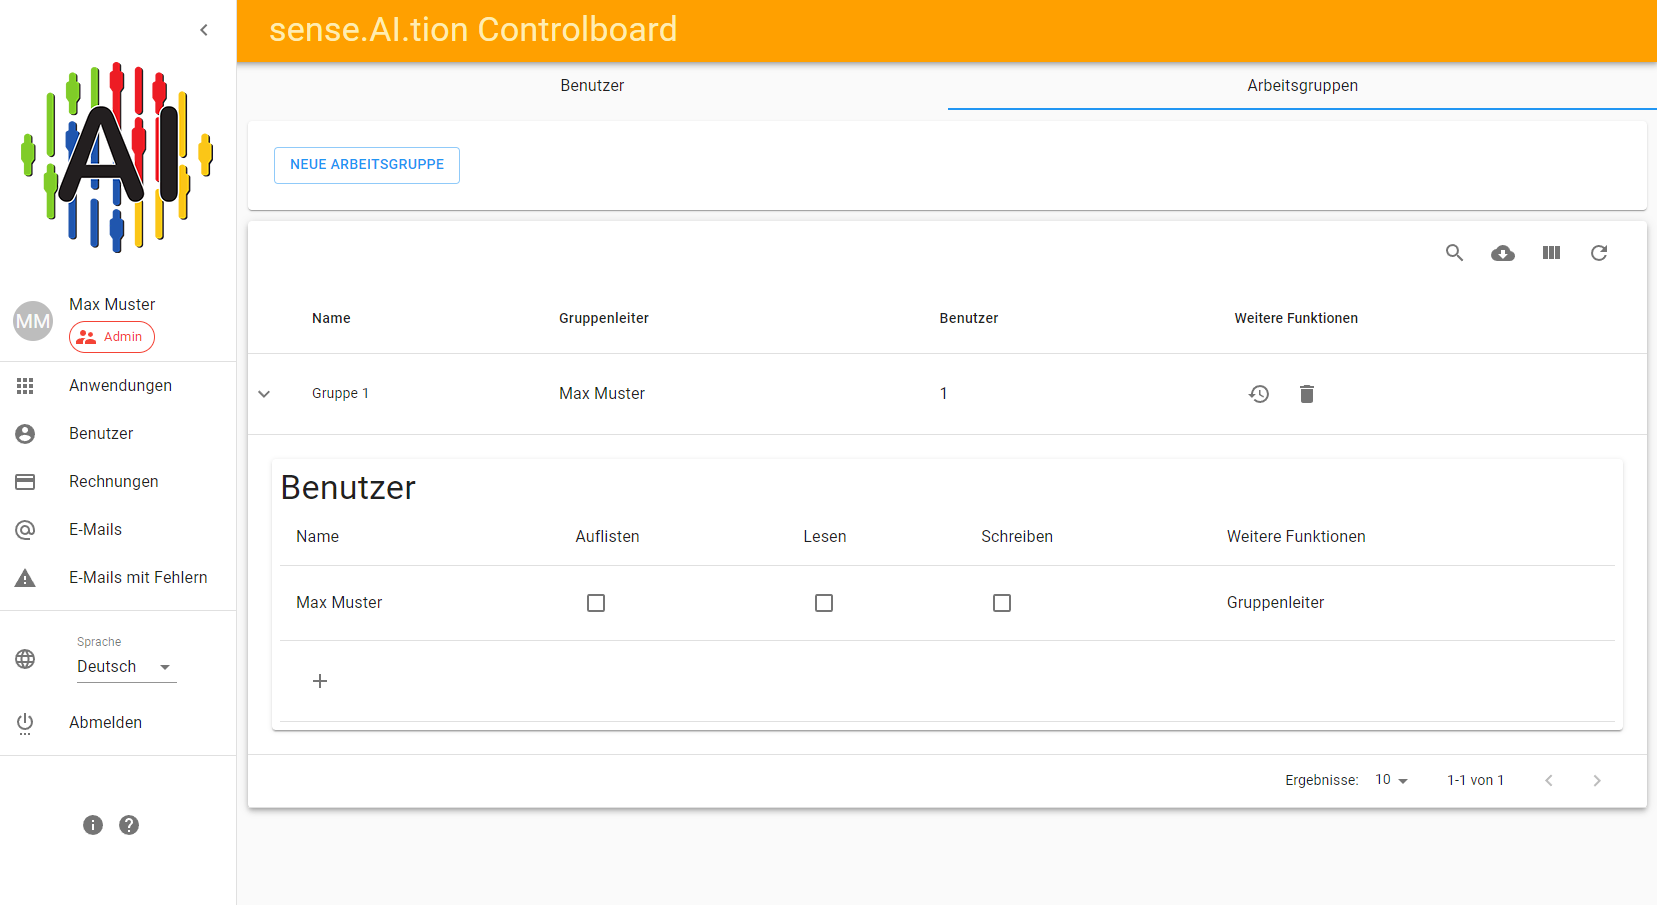
Add more users in the group:
- Click on the “+” symbol under the last user of the group
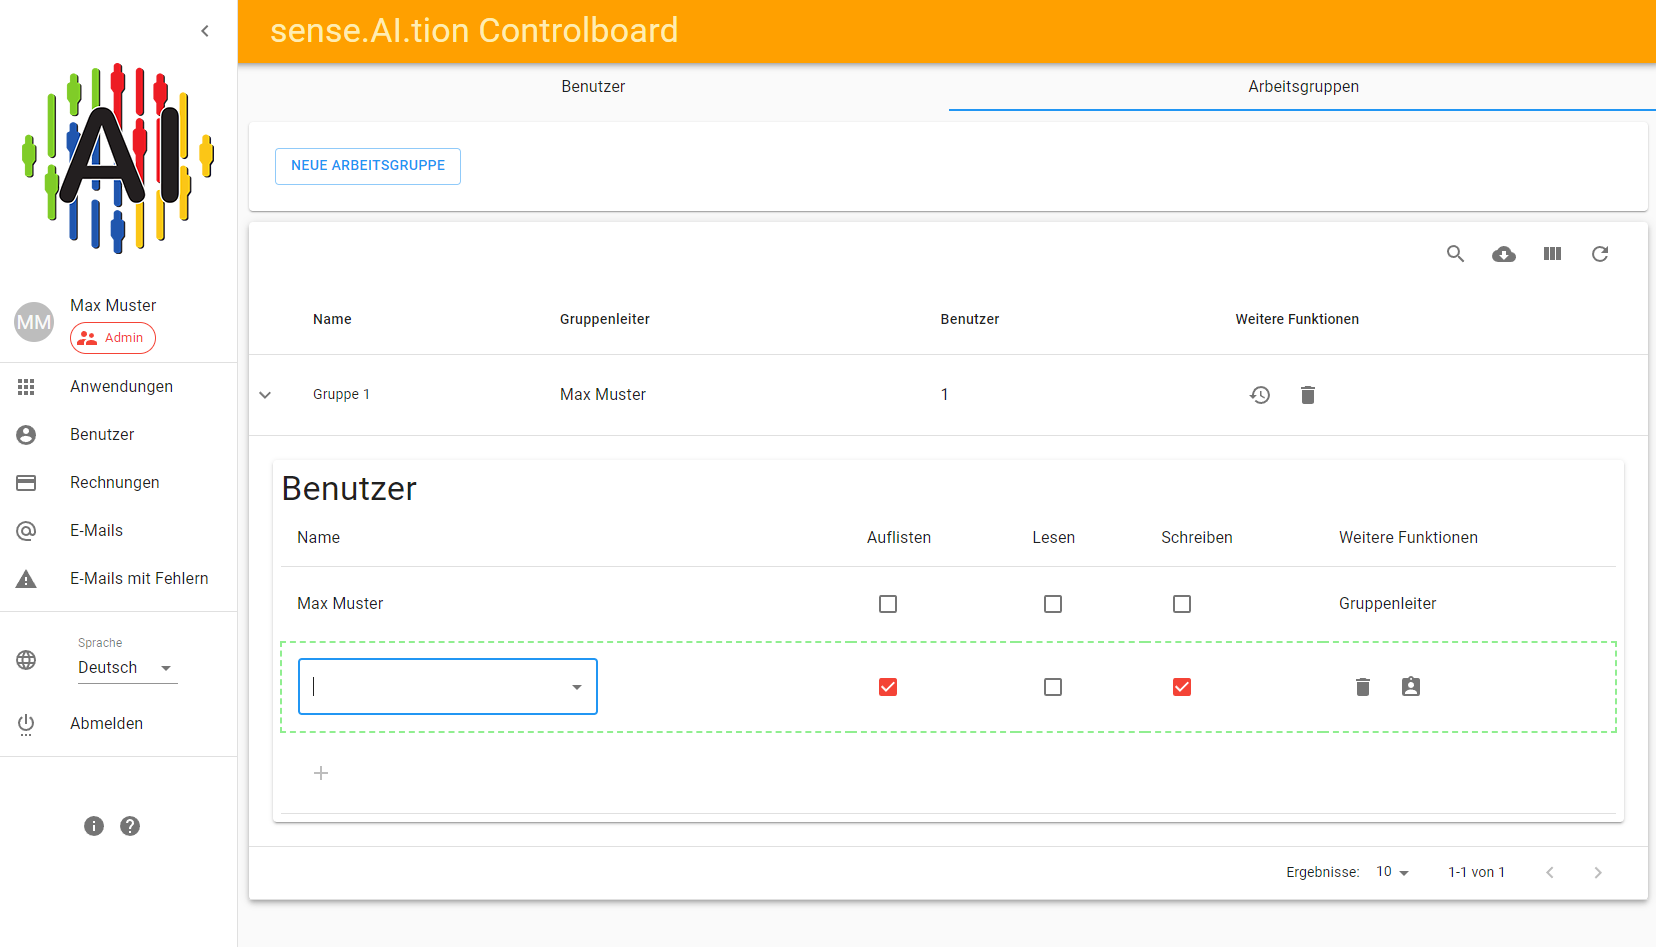
- Select the desired user and repeat this for all users you want to add to the group
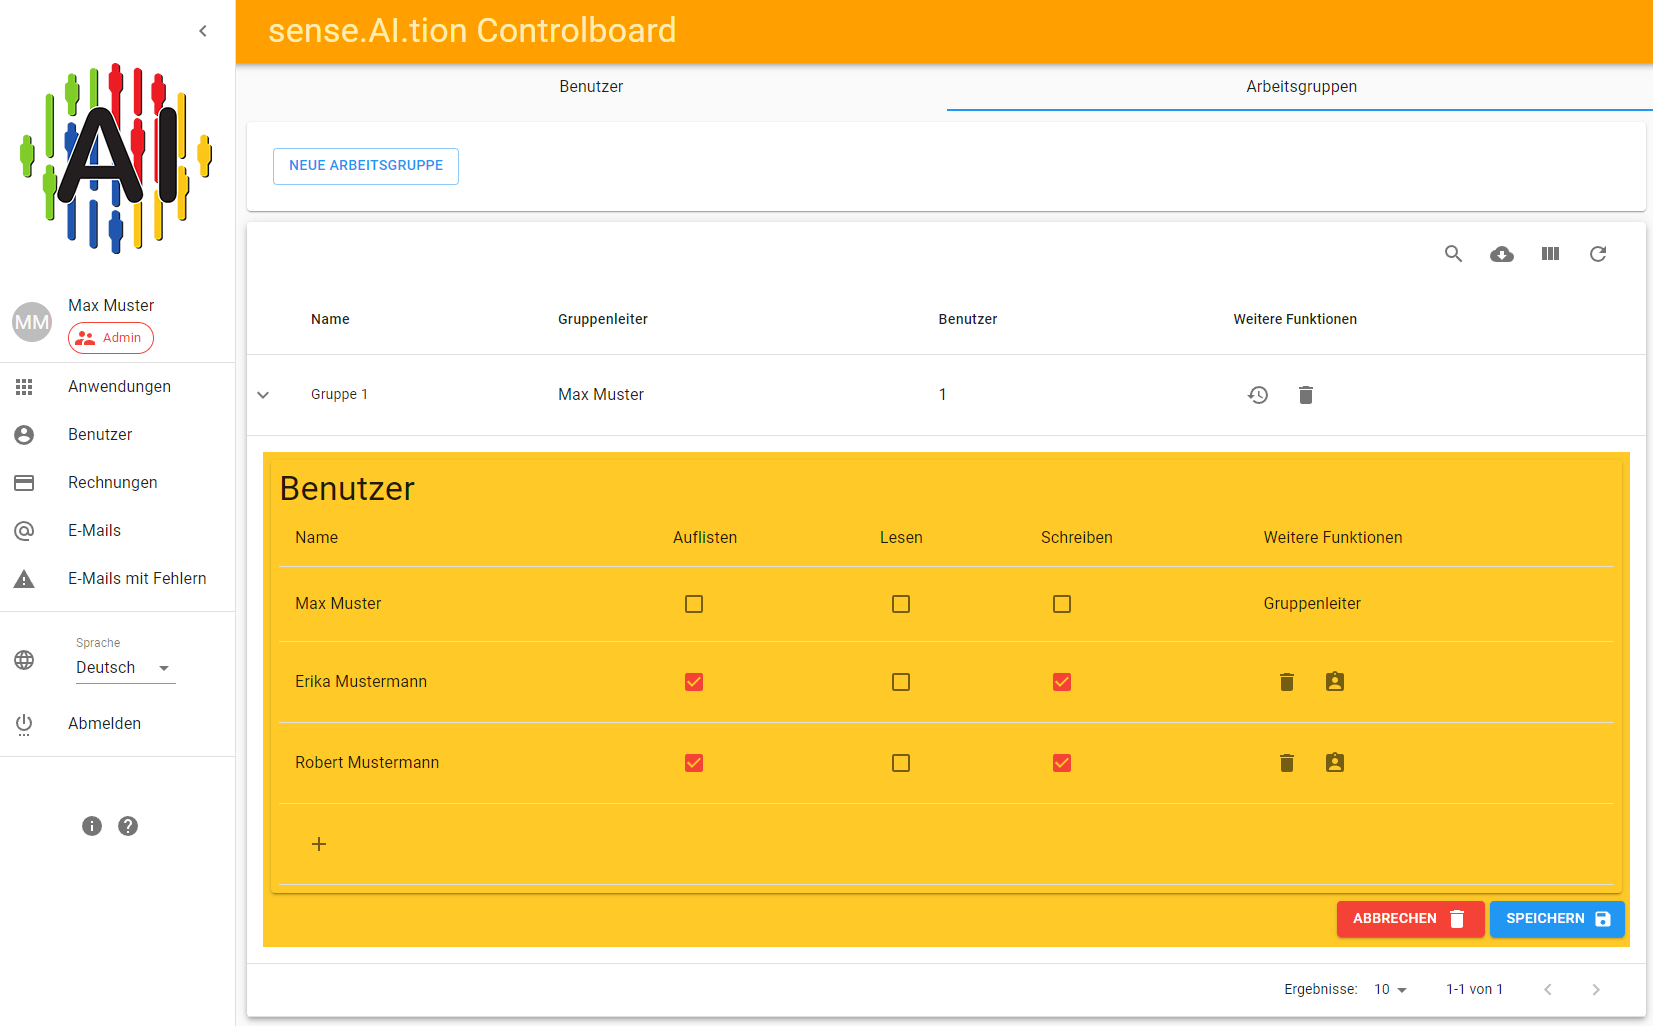
- Confirm the changes by clicking on the “Save” button
Creating projects
After creating users and a group, the first project can be defined. A workgroup is a prerequisite for creating projects, as they must always be assigned to a group.
- Log in to the Sense.AI.tion control board with an administrator access
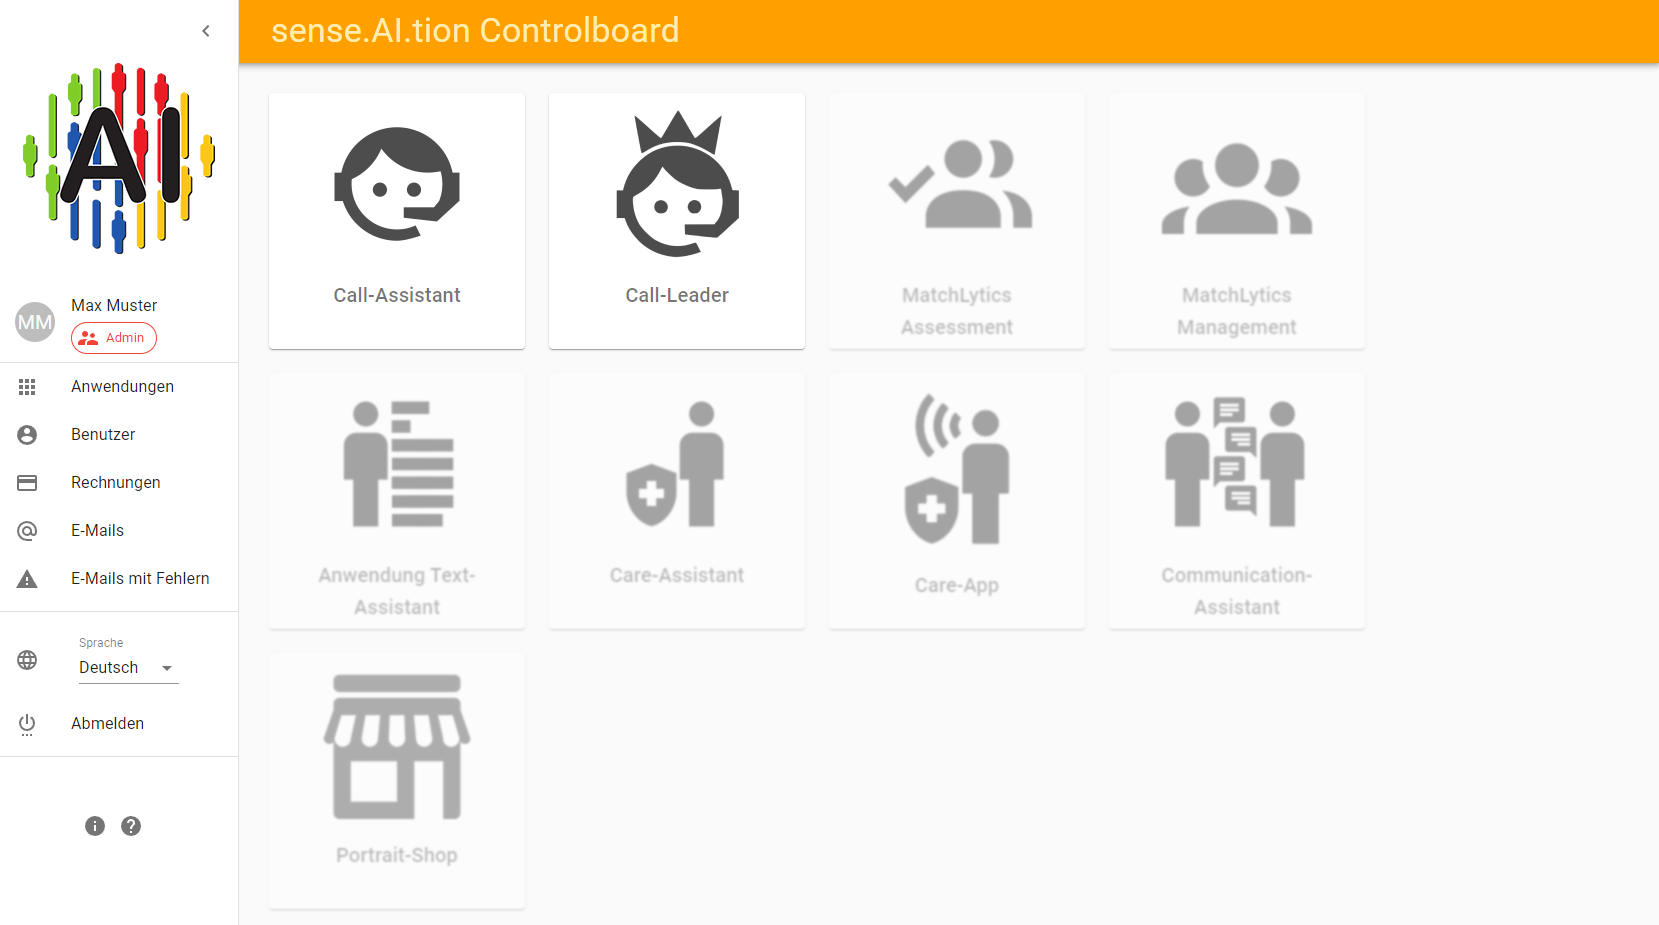
- Click the tile “Call-Leader” to enter the application
The Call-Leader is the central administration system for all settings of the projects used in the Call-Assistant 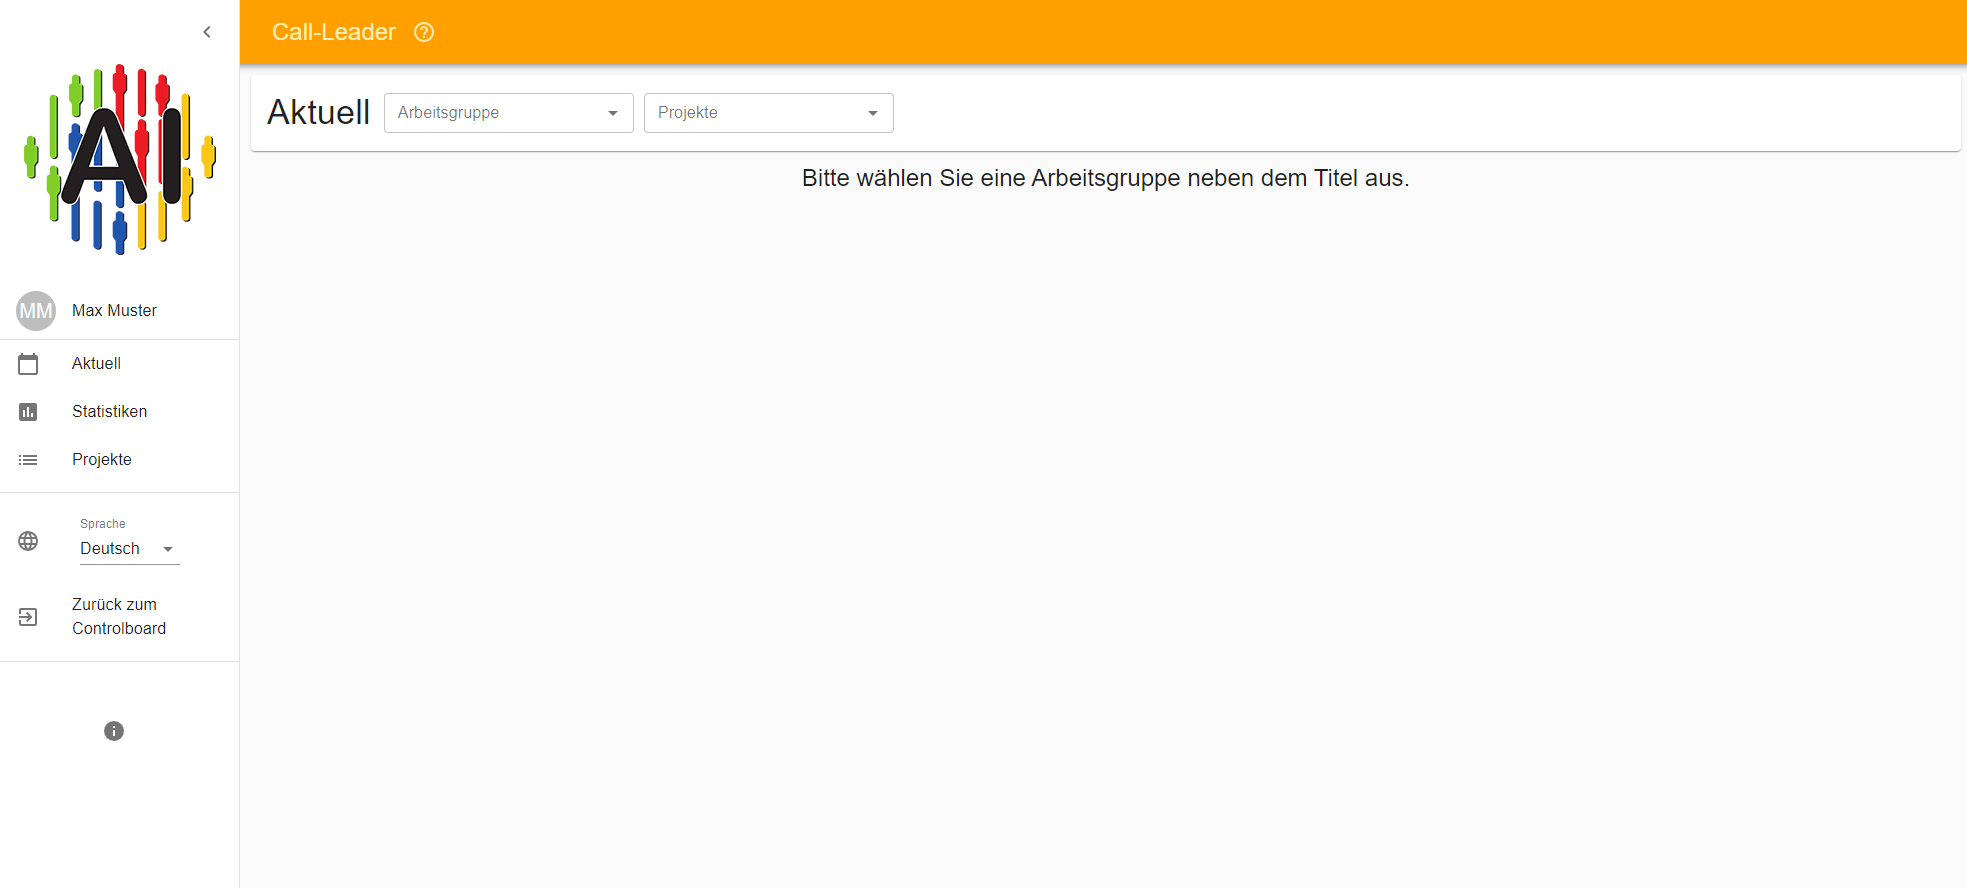
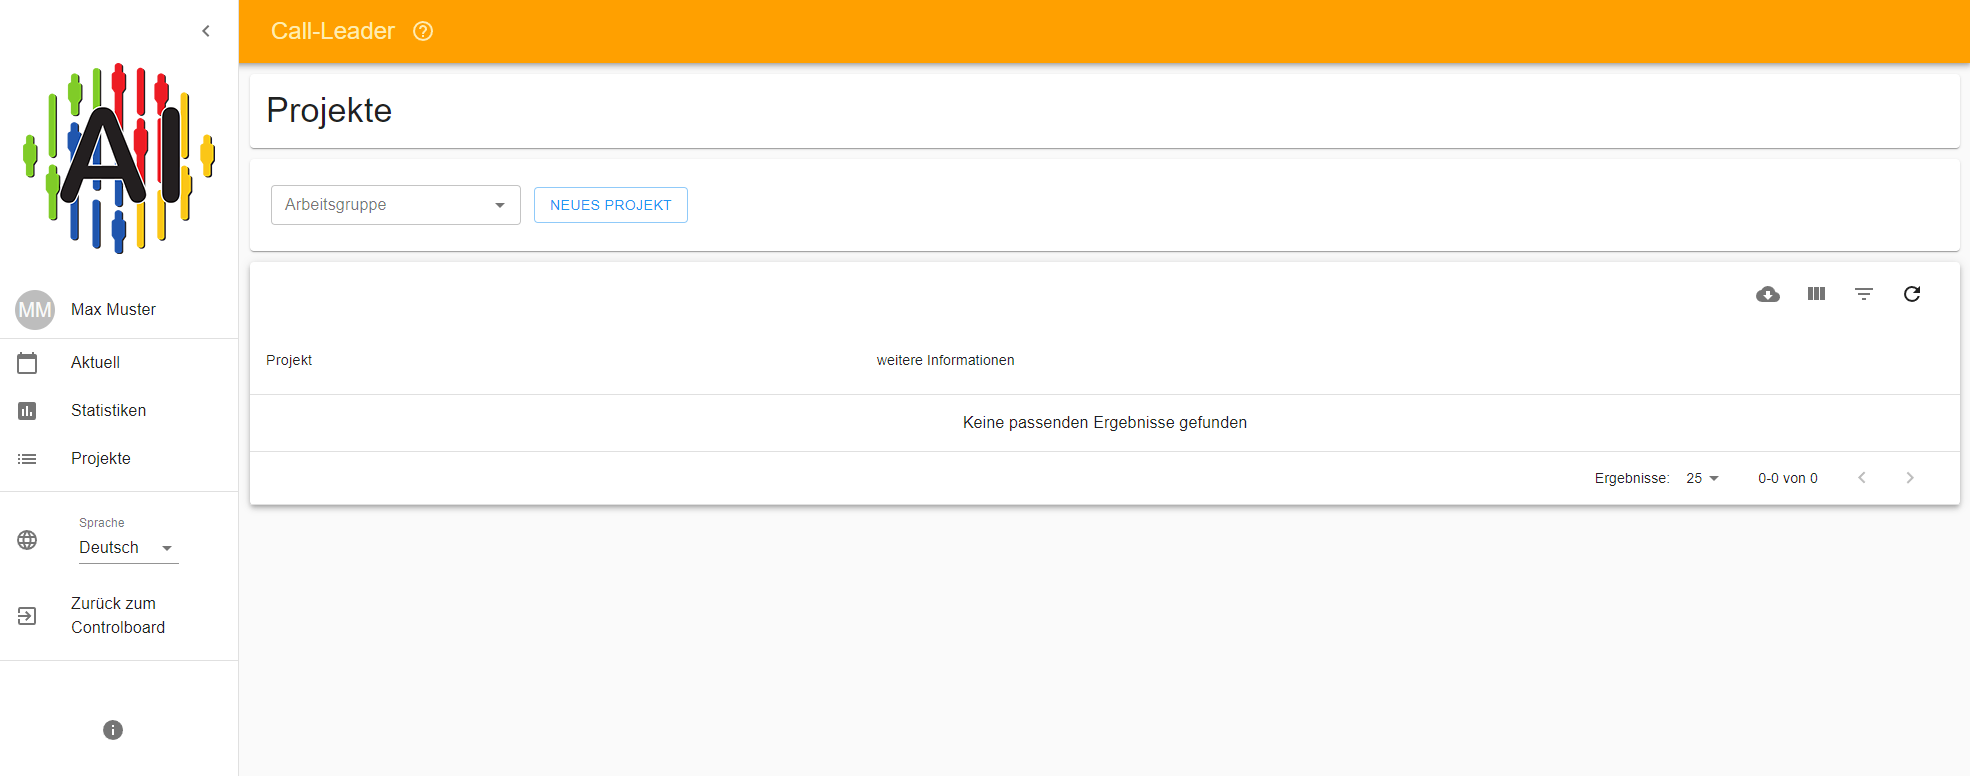
In the Projects area, the new project is created for the previously created workgroup. Existing projects can be edited or archived here.
-
Click the menu item “Projects” to enter the workspace
-
Select an available group to be assigned to the project
 For our example we choose the previously created “Group 1”. It should be noted that the assignment between workgroup and project cannot be changed afterwards. The later editing of the project is limited to the greeting suggestions and the recording of audio data.
 -
Click on the button “NEW PROJECT”
-
Enter a name for the new project and save the project with the “checkmark”

The newly created project is now listed in the projects list and is now also available to the Call Assistant. 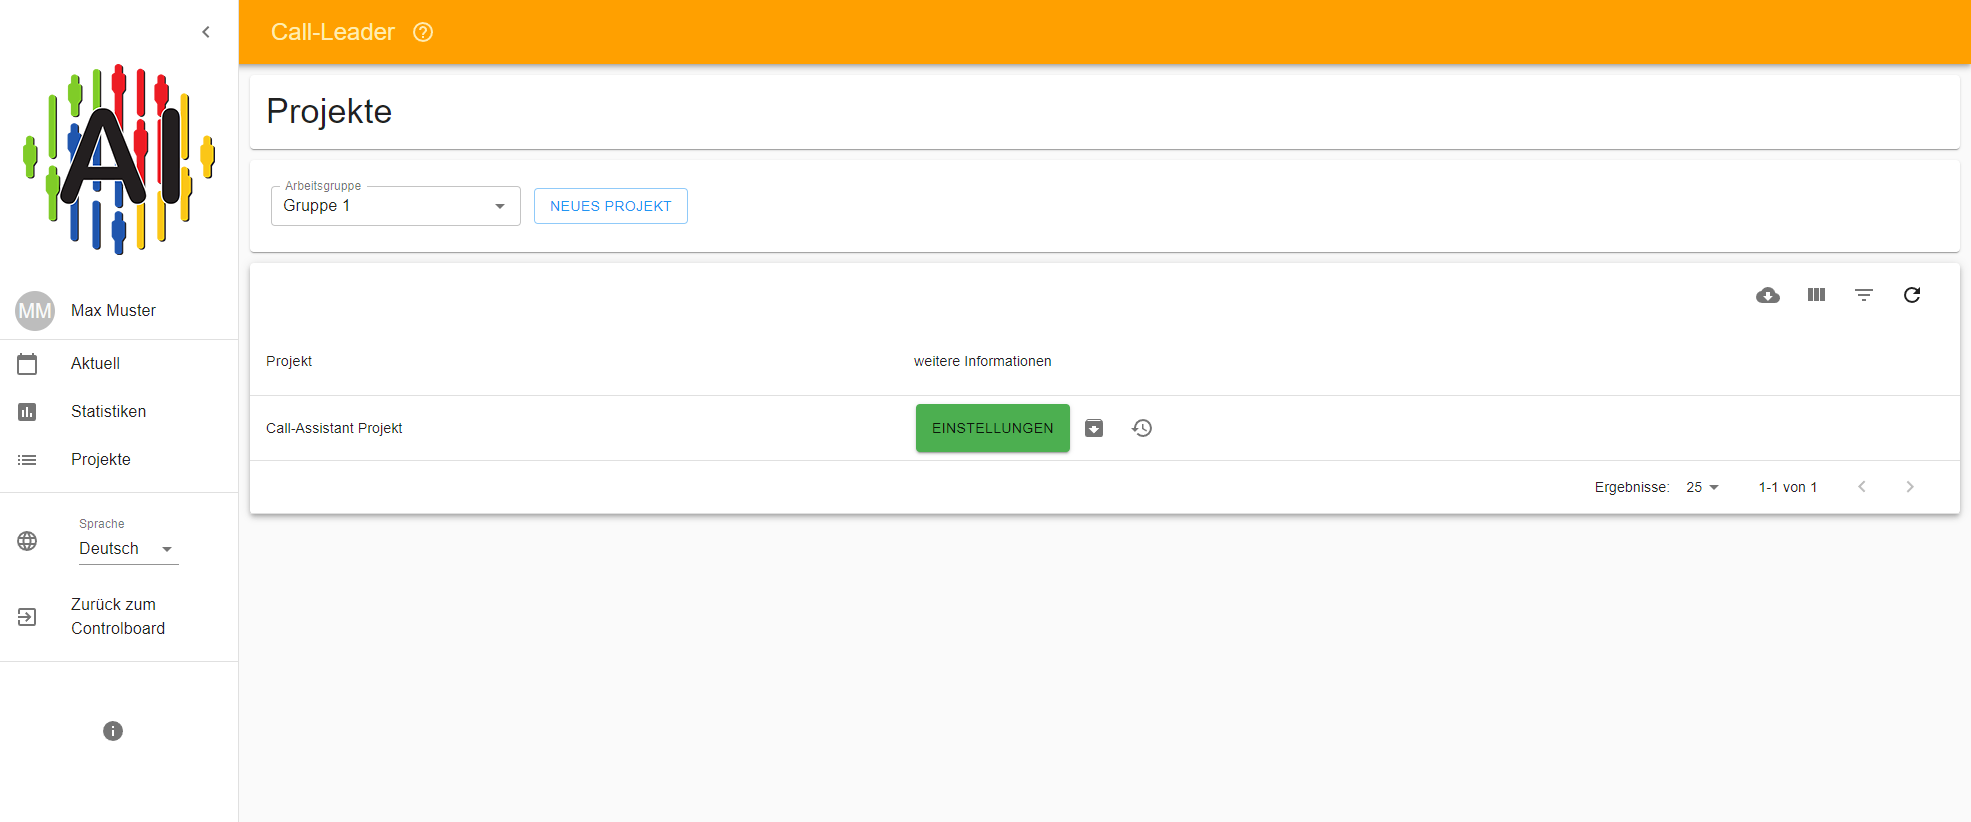
To individualize the project, adjust the greeting suggestions or activate the recording of audio data, click on the “Edit” button for the respective project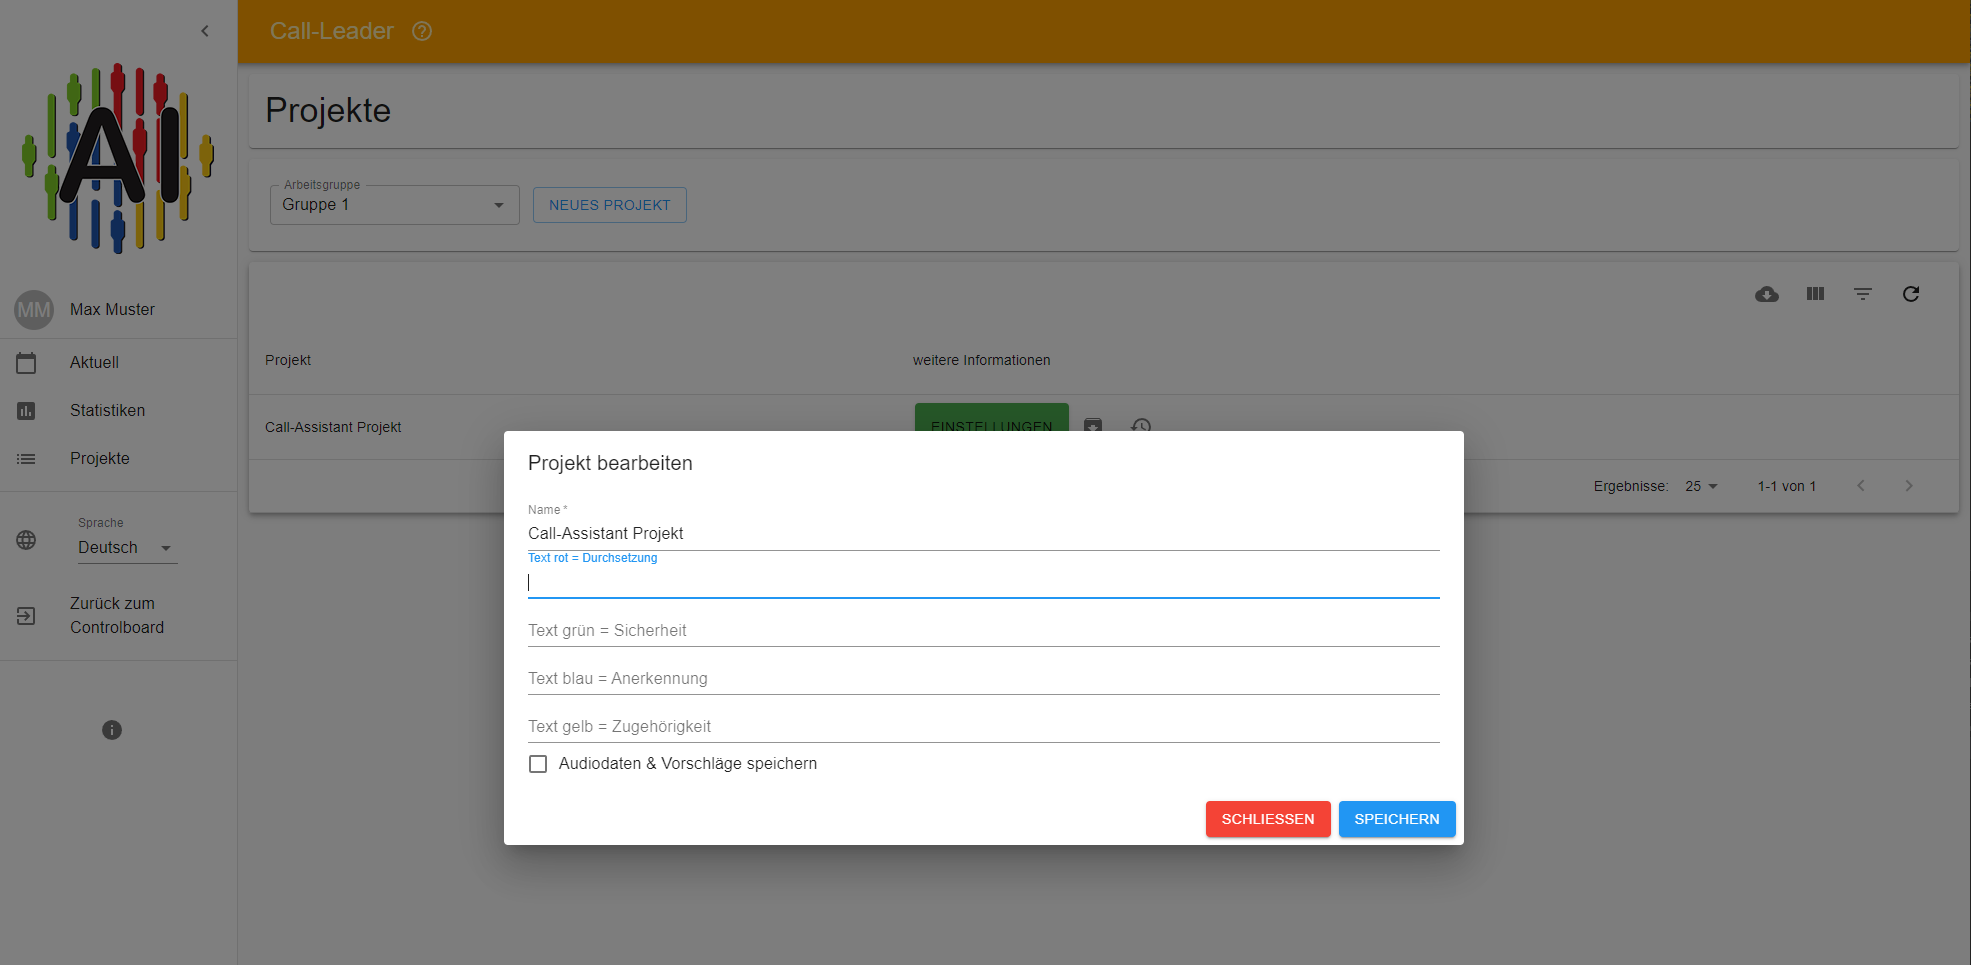
- Enter the desired changes and confirm this by clicking on the Save button
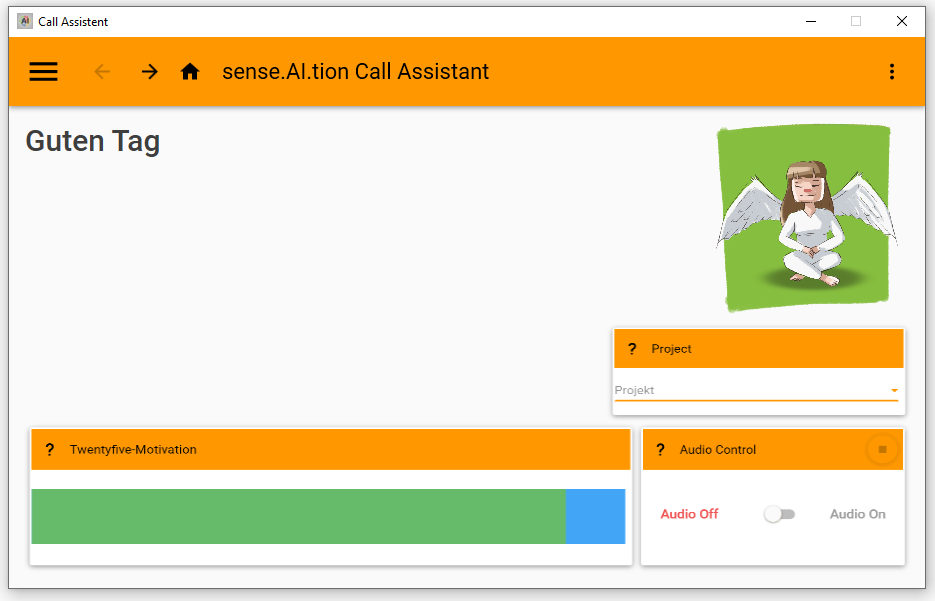
Login and use client
- Login to the Sense.AI.tion control board with administrator access
- Click the “Call Assistant” tile to enter the application
The Call Assistant is opened for the respective user and the previously defined project can be selected in the project list. The application is now fully configured and ready for use.